Click on a question below to see the answer.
To View all answers
| A: |
Click on Central Stores link on top bar and place cursor on Masters link on left panel and click on categories link on the popup menu displayed to find next screen as follows. 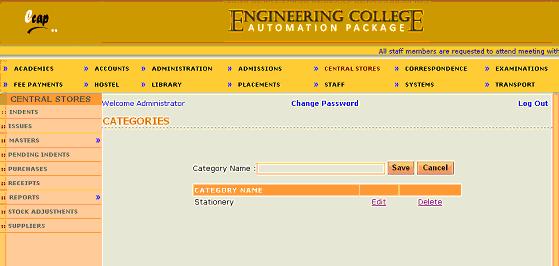
Above screen shows existing categories already entered. They can either be edited or deleted. Now enter new category name in the text box provided and click on save button to add new category.
|
| A: |
Click on Central Stores link on top bar and place cursor on Masters link on left panel and click on Sub Categories link on the popup menu displayed to find next screen as follows. 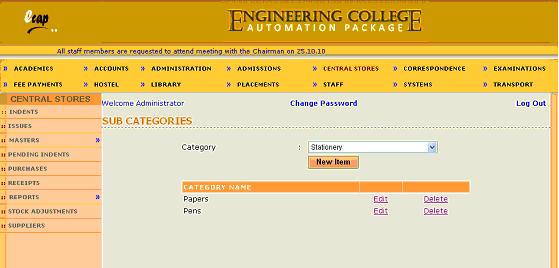
Now select a category from category dropdown to find existing sub categories already entered. They can either be edited or deleted. To add new sub category for selected category , click on New Item button to find next screen as follows. 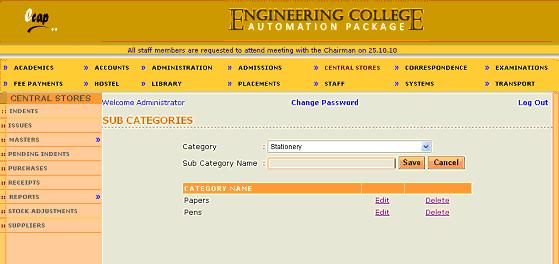
Now enter Sub Category name for the selected category in the text box provided and click on Save button to save new sub category. |
| A: |
Click on Central Stores link on top bar and place cursor on Masters link on left panel and click on Items link on the popup menu displayed to find next screen as follows. 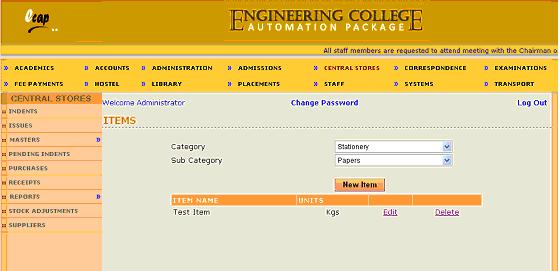
Now select Category and Sub category from respective dropdowns to find existing items already entered. To add new item for selected sub category of selected category, click on New Item button to find next screen as follows. 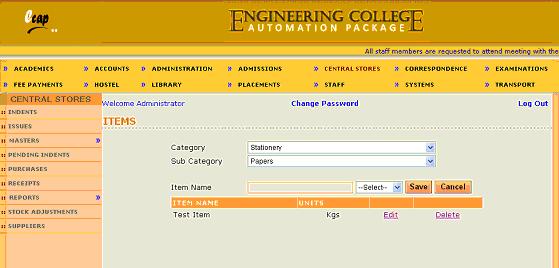
Enter new item in the text box provided and select units from the dropdown and click on Save button to save new items. |
| A: |
Click on Central Stores link on top bar and place cursor on Masters link on left panel and click on Units Master link on the popup menu displayed to find next screen as follows. 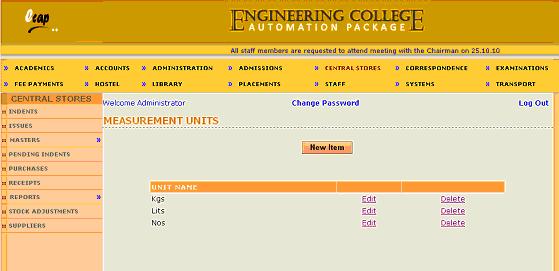
Above screen shows existing Units already entered. They can either be edited or deleted. To add new Unit, click on New Item button to find next screen as follows. 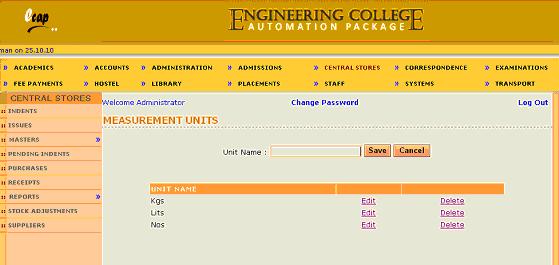
Now enter new unit name in the text box provided and click on Save button to save new Unit. |
| A: |
Click on Central Stores link on top bar and click on Initial Stocks link to find next screen as follows. 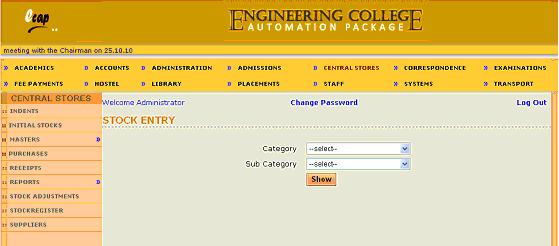
Now select category and sub category and click on show button to find list of items as follows. 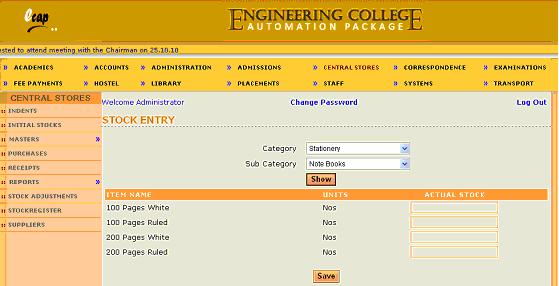
Now enter initial stocks for all items of selected sub category in the text boxes provided and click on Save button to save initial stocks. |
| A: |
|
| A: |
Click on Central Stores link on top bar and click on Purchases link to find next screen as follows. 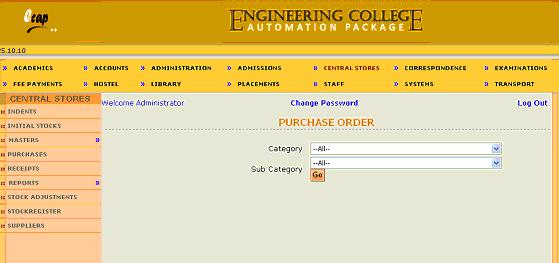
Now select category and sub category and click on Go button to find next screen as follows. 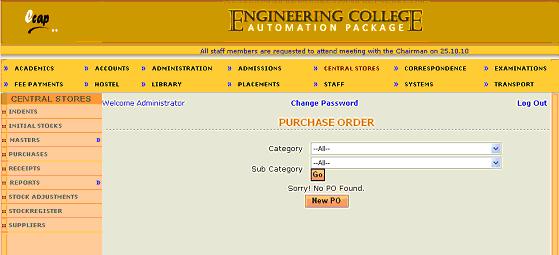
Above screen shows existing Pos if any already issued. Now click on New PO button to find next screen as follows. 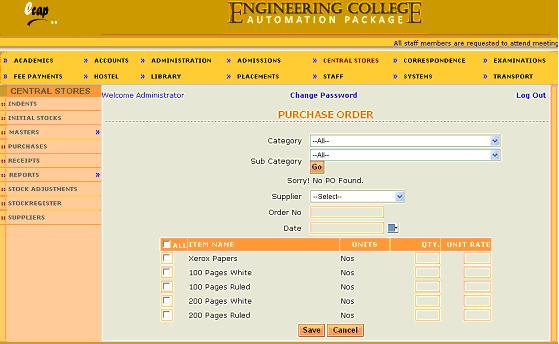
Now select supplier from the dropdown, enter PO No and date in the text boxes provided. Now select check boxes against items and enter quantities and Unit rate in the text boxes against each item and click on save button to save PO details. |
| A: |
Click on Central Stores link on top bar and click on Receipts link to find next screen as follows. 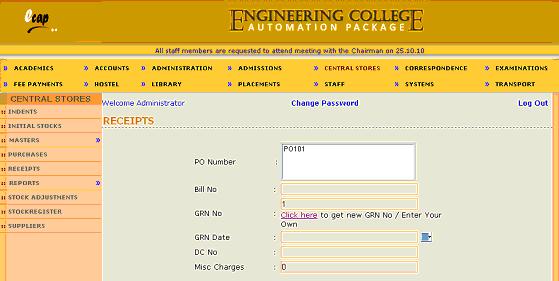
Above screen shows existing PO numbers in the list box. Now select a PO from the list box to find next screen as follows. 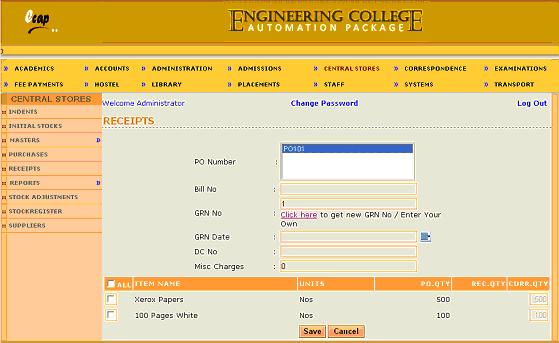
Now enter Bill number, GRN date, DC Number and Misc. Charges if any in the text boxes provided and now select check boxes against items ordered for in above selected PO and enter currently received quantities against each item and click on Save button to save receipt details. Please note that supplier may not supply all items and entire quantities at once. |